3 Fiberglass Pool Sizes Popular in 2026
Introduction and Outline: How to Use This Guide
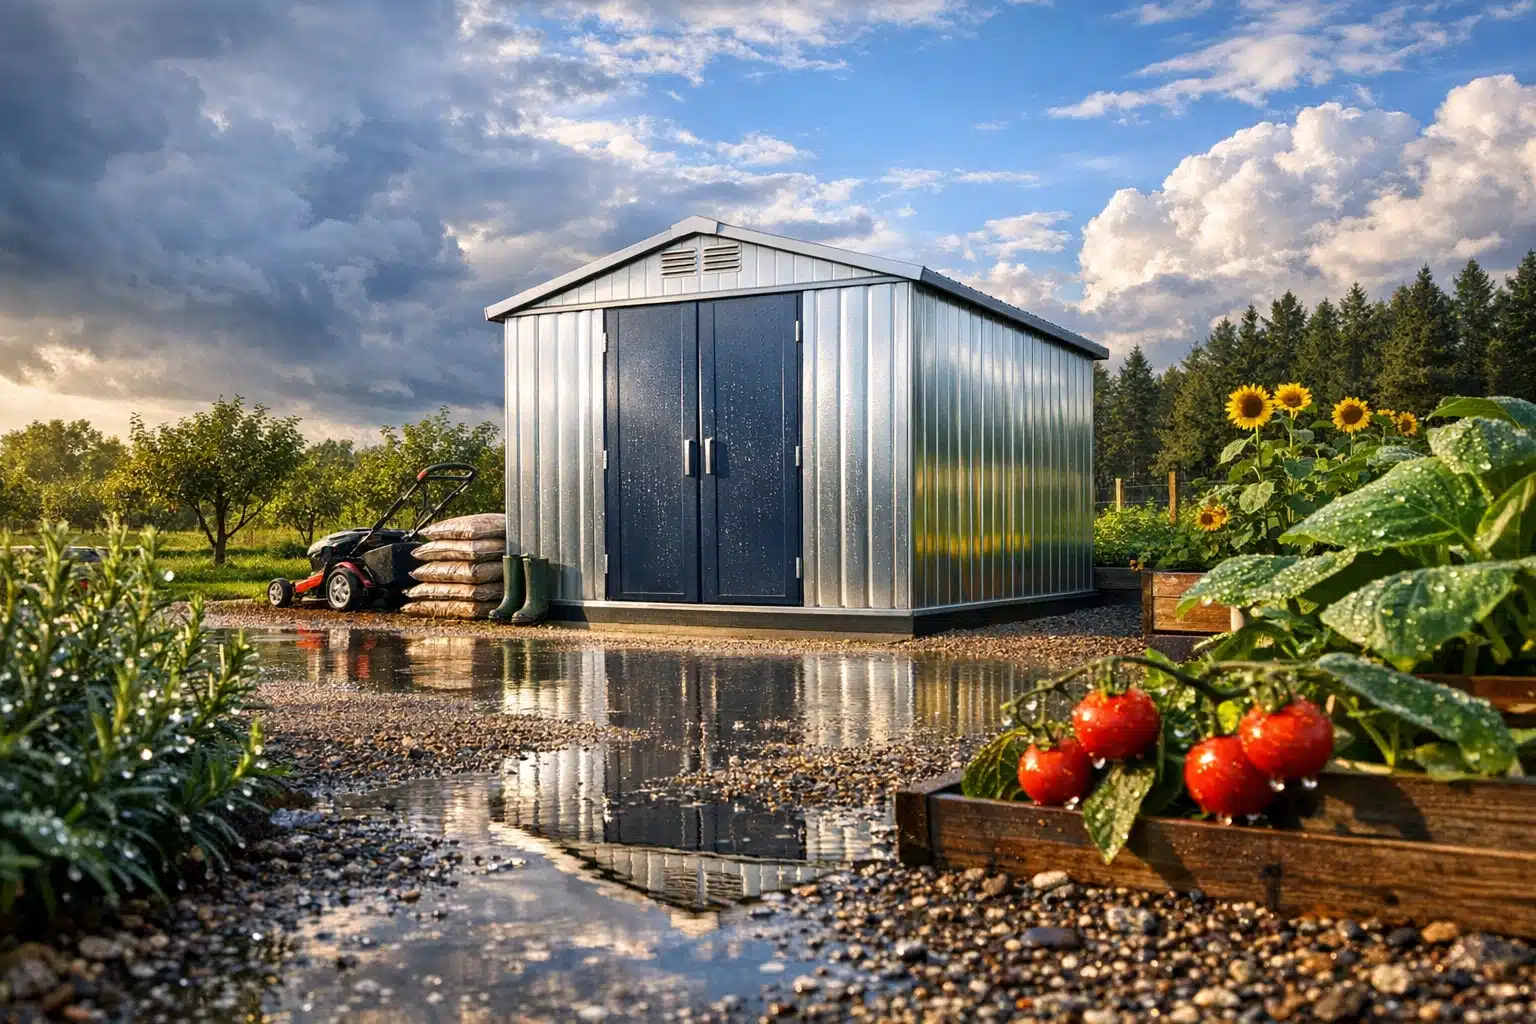
Choosing a fiberglass pool can feel like shopping in a fog: enticing shapes, unfamiliar specs, and price tags that swing wildly. This guide clears the haze by focusing on three sizes that have become widely chosen for residential yards in 2026: 14×25, 16×32, and 18×36. You will see how each footprint fits typical suburban lots, what the installation timeline really involves, and how maintenance routines compare over the first years of ownership. We will also walk through price ranges, planning considerations, and feature options so you can set expectations before you request quotes.
Here is the roadmap of what follows, so you can scan to what matters most right now:
– The Size Fit at a Glance: Dimensions, typical water volume, swimmer capacity, and the kind of activities each size supports.
– Installation, Step by Step: Permits, excavation, base prep, crane day, plumbing and electrical, backfilling, decking, and startup.
– Maintenance and Operating Benefits: Weekly care, seasonal tasks, energy and chemical use trends, and tips for trouble‑free ownership.
– Prices, Plans, and Options: Realistic ranges for each size, cost drivers that move the needle, and the add‑ons people most often choose.
– A Decision Framework: Yard constraints, safety and code checklists, and a quick way to match pool size to lifestyle priorities.
The goal is practical clarity. When someone asks, “Will 16×32 feel cramped for four swimmers?” or “How long until I can swim after the dig begins?”, you will have grounded answers. From time to time, we will zoom out for the bigger picture—like how a pool changes the cadence of your weekends—because a good backyard upgrade is as much about daily rhythm as it is about square footage. If you want the full story without salesy fluff, start with the size guide, then jump to installation details, and finish with pricing to build a plan that fits both your space and your budget.
Fiberglass Pool Sizes Guide: 14×25, 16×32, and 18×36 Fit
Right‑sizing a pool starts with matching footprint to yard, then weighing activity needs, bather load, and operating costs. The 14×25 format suits compact lots and renovation projects where setbacks, easements, or tree roots limit space. Surface area lands near 350 square feet, with typical volume around 9,000 to 12,000 gallons depending on depth profile. This size supports splash play, cooling off, short‑stroke fitness, and compact lounging zones. In many municipalities, a 14×25 can fit in a 30 to 40 foot wide backyard while still leaving room for a dining set, grill station, and a modest planting bed.
The 16×32 pool is a versatile middle ground. At roughly 512 square feet of surface and 14,000 to 18,000 gallons, it’s roomy enough for families or shared households that host occasionally. Two to four swimmers can move comfortably without constant bumping, and there is more latitude for features like a tanning ledge or integrated bench. Many owners choose this size because it threads the needle between activity space and manageable operating cost. In a typical suburban layout—say, a 60 to 70 foot wide lot—you can align a 16×32 parallel to the home and still create pathways, landscaping, and a seating terrace without crowding.
For those who want more open water, 18×36 provides generous room for play and fitness. Surface area reaches about 648 square feet, with 20,000 to 24,000+ gallons depending on shell design. It accommodates small group games and quasi‑lap swimming, especially if you favor a deeper mid‑section. Expect it to dominate the yard visually; plan your deck, shade, and planting to soften the mass and maintain flow from door to water’s edge. Larger footprints can also make safety planning more straightforward by allowing clear sightlines from common indoor spaces to the pool.
Quick fit highlights you can use during your yard walk‑through:
– 14×25: Ideal for narrow lots, starter budgets, or quiet soaking; low water and energy use; modest furniture groupings.
– 16×32: Balanced for families; supports built‑in seating or a small ledge without feeling tight; moderate operating costs.
– 18×36: Spacious for active use and entertaining; more deck and fencing needed; higher fill and heating demand.
Two practical rules help avoid surprises. First, reserve at least 5 to 8 feet of clear deck on the primary use sides for furniture and safe circulation; corners need more if you plan shade structures. Second, check local code for barriers and setbacks early—fencing height, gate hardware, distance to utilities, and overhead clearances shape what actually fits. A tape measure, a few landscape flags, and a half hour outside can save weeks of redesign later. Imagine a summer evening: chairs pushed back, towels draped over railings, the hush after cannonballs. That mental picture is your best test of whether the footprint suits your life.
Installation Steps: From Permit to First Swim
Fiberglass projects move faster than many expect because the shell arrives pre‑formed and finished. That said, a smooth install comes from disciplined sequencing and attention to subgrade, drainage, and utilities. A common timeline runs 2 to 4 weeks from excavation to water in the pool, with decking and landscaping adding 1 to 3 more weeks depending on scope and weather.
Here is the process most homeowners experience:
– Permitting and Layout: Confirm property lines, setbacks, easements, and utilities. Submit permit drawings that show the pool footprint, equipment pad, fencing, and electrical runs. Mark the layout with paint and stakes so everyone visualizes stairs, benches, and access paths.
– Excavation and Spoil Handling: Excavate to plan depth and over‑dig the perimeter to accommodate base material and plumbing. Soil type matters; clay often needs over‑dig and careful compaction, while sandy loam drains well but benefits from geotextile fabric to stabilize edges.
– Base Preparation: Place a level, compacted bed of clean, angular gravel; its interlock helps distribute load and resist settling. Laser levels and string lines keep tolerances tight—small errors at the base can show up later as waterline irregularities.
– Shell Delivery and Set: A crane typically lifts the shell over the home or fence. The set crew aligns the shell to layout marks, checks level across both axes, and begins simultaneous filling and backfilling to balance pressure. Careful pacing prevents wall distortion and keeps the shell true.
– Plumbing and Electrical: Run suction and return lines with sweep fittings to reduce resistance, then pressure test. On the pad, mount the pump, filter, and controls on a stable slab with room for service access. Bonding and grounding are non‑negotiable for safety and code compliance.
– Drainage and Backfill: Continue backfilling with clean gravel in 6 to 12 inch lifts, compacting gently as the water rises in the shell. Add a sump tube or relief line near the deep end to monitor groundwater and allow dewatering if needed.
– Coping and Decking: With the shell secured and lines tested, install coping and form the deck. Broom‑finish concrete cures quickly and keeps budgets predictable; pavers and stone add texture and can be repaired in small sections. Slope the deck away from the pool for drainage and keep expansion joints clean.
– Startup and Handover: Balance water chemistry, verify flow rates, and set the filtration schedule. Walk through equipment basics, winterizing approach, and safety features. An organized punch list at this stage is worth its weight in calm Saturday mornings later.
Contingencies to discuss before work starts include access width for machinery, routes for the crane, groundwater management after heavy rain, and how spoil will exit the site. Good installers document changes with photos and notes so the as‑built record matches what went underground. When the waterline steadies and the first reflection kisses the coping, you will appreciate why planning details—base material, backfill rate, bonding points—set the tone for years of easy ownership.
Maintenance and Ownership Benefits: Smooth Surfaces, Simple Routines
Fiberglass shells are molded with a smooth gelcoat interior, and that surface is a quiet hero of low‑stress pool care. Fewer pores mean it is harder for algae to anchor, which tends to lower brushing time and reduce shock frequency compared to rougher finishes. Owners often run shorter filtration cycles because the water turns over efficiently in compact plumbing loops. Over a season, those small differences add up to noticeable savings in time and operating costs.
A straightforward weekly routine looks like this:
– Test and balance: Check pH, free chlorine, and alkalinity; adjust in small increments to avoid seesawing. Many fiberglass pools hold pH more steadily, which means fewer acid additions.
– Skim and brush: Ten minutes around the waterline and steps once or twice a week keeps films from forming. A soft‑bristle brush is enough for gelcoat surfaces.
– Filter and vacuum: Run the pump on a schedule matched to your volume and climate; 1 to 1.5 turnovers per day is common in mild weather. Robotic cleaners pair well with smooth walls and can cut manual vacuuming to occasional touch‑ups.
Seasonal tasks include opening with a solid shock, inspecting gaskets and o‑rings, and servicing the heater if you use one. In winter climates, blow out lines, add antifreeze where code allows, and use a safety cover that supports snow loads; in warm regions, consider shoulder‑season schedules that curb off‑season algae without running costs high. Mineral or saltwater systems both perform well with fiberglass, but maintain proper calcium hardness to protect equipment and watch for metals that can stain; a periodic sequestrant dose helps if you have iron in the fill water.
Operating costs depend on size and climate. Smaller footprints like 14×25 mean fewer gallons to heat and sanitize. Covers can trim evaporation significantly, which saves water and reduces chemical loss. Variable‑speed pumps, now widely adopted, let you dial in low‑energy circulation for most of the day with a higher‑speed window for skimming and heater operation. Lighting on efficient LEDs, a modest automation hub, and a reliable test kit round out a setup that keeps ownership predictable.
Beyond the numbers, there is a lifestyle benefit in how fiberglass’s smooth finish feels underfoot and how tidy the waterline stays. Less scrubbing and fewer surprises translate into more spontaneous swims. On a breezy afternoon, when leaves skate across the coping and the surface still settles clear within minutes, you will understand why this material remains well‑regarded among homeowners who value low‑drama upkeep.
Conclusion and Buying Paths: Prices, Plans, and Options
Budgeting begins with an installed range for the shell size, then layers in site conditions and features. As of 2026, many projects fall into these brackets:
– 14×25 installed: approximately $35,000 to $60,000 depending on access, soil, and deck scope.
– 16×32 installed: approximately $45,000 to $80,000 with typical features and mid‑size decks.
– 18×36 installed: approximately $55,000 to $110,000+ when larger decks, heaters, and added features enter the plan.
Key cost drivers to consider early:
– Site access: Narrow gates or crane setups add equipment and time.
– Soil and groundwater: Clay, rock, or high water tables influence excavation, base, and drainage details.
– Decking and coping: Broom‑finish concrete often runs more affordably than pavers or stone; square footage multiplies quickly.
– Utilities: Longer electrical and gas runs raise labor and material costs; panel upgrades add to totals.
– Local requirements: Permits, inspections, and fencing vary by jurisdiction and add fixed costs.
Common options and rough add‑ons:
– Heating: Air‑source heat pump for shoulder seasons; gas for rapid warm‑ups; solar for low operating cost in sunny regions. Expect a few thousand dollars for equipment plus installation.
– Covers: Manual safety covers increase safety and reduce debris; automatic covers add convenience and can curb evaporation significantly.
– Water and light features: Sheer descents, deck jets, and LED lighting enhance ambiance with modest operating impact.
– Tanning ledges and benches: Many shells integrate these features; they shape how you lounge and where children play.
– Automation: Timers and app‑based controls simplify schedules and alerts without requiring a premium package.
Planning tips that help bring quotes into alignment:
– Decide on the minimum comfortable deck width, then lock it into drawings to avoid scope creep.
– Confirm equipment pad location with attention to noise, service access, and prevailing wind.
– Discuss fill water source and water quality; a trucked fill accelerates startup and may be cost‑effective where municipal rates are high.
– Map a phased approach: shell, basic deck, and landscape now; shade structure or outdoor kitchen later.
Financing often follows one of three tracks: unsecured home improvement loans for speed, home equity lines for lower rates when available, or cash plus a smaller loan to keep monthly payments comfortable. Typical schedules include a deposit at contract, a draw after excavation, a draw at shell set, and a final payment at substantial completion. Lead times for shells can run 8 to 16 weeks in peak season, so align your permit window and crane scheduling early.
If you have read this far, you likely value a pool that fits your yard and your routine—not just a large rectangle of water. The 14×25 rewards compact spaces and simpler budgets; the 16×32 balances family use with sensible operation; and the 18×36 opens room for play and hosting. Choose your path by measuring how you spend weekends, not just by counting square feet. With a realistic plan, a few smart options, and clear expectations, your first swim will feel like the natural next step rather than a leap of faith.